Inhaltsverzeichnis
- 1 How to Clean a Vaporizer Properly
- 2 Vaporizer Cleaning: 7 Easy Steps
- 3 What to Do with New Vaporizers and Replacement Parts
- 4 Why Regular Vaporizer Cleaning is So Important
- 5 How to Clean a Herbal Vaporizer Properly
- 6 Cleaning the Vaporizer After Each Use Without Alcohol
- 7 Cleaning the Mouthpiece and Cooling Chamber
- 8 Which Vaporizer Parts Can Be Cleaned with Isopropyl Alcohol?
- 9 Procedure for Cleaning a Vaporizer
- 10 Materials That Should Not Be Cleaned with Isopropyl Alcohol
- 11 How Do I Clean an Oil or Wax Vaporizer?
- 12 6 Simple Steps to Clean an Oil Vaporizer
- 13 Cleaning and Maintenance Save Real Money
- 14 Using Your Vaporizer After Cleaning
How to Clean a Vaporizer Properly
Everyone knows that vaporizers need regular cleaning, especially when the vapor no longer tastes good or is barely noticeable. Our step-by-step guide and vaporizer care tips help you extend the lifespan of your vaporizer. But how do you clean your vaporizer properly? Here’s an overview of what to consider during cleaning. The best results are achieved using isopropyl alcohol, as it is a very strong solvent.
How do you clean a vaporizer with or without isopropyl alcohol? Which parts can be soaked or wiped, and which should never come into contact with alcohol? Find out with our step-by-step guide!
Vaporizer Cleaning: 7 Easy Steps
- Disassemble the vaporizer into individual parts for cleaning
- Place dirty parts in a glass or ZipLock bag
- Fill with isopropyl alcohol and shake gently
- Let it soak for about 30 minutes
- For stubborn residue, a brush can help
- Rinse the parts with clean water and let them dry
- A hair dryer can speed up the drying process
Tip: The alcohol can be collected & reused
What to Do with New Vaporizers and Replacement Parts
A newly purchased vaporizer should be cleaned before first use, similar to a new coffee machine. We recommend rinsing all individual parts with water, especially metal and plastic components.
You can CHARGE the vaporizer completely before first use, then run it without the mouthpiece at a high temperature to “burn off” any residues. Repeat the process if necessary. We recommend taking a short break between each cycle. Do not attempt other methods to burn off residues – under no circumstances should a vaporizer be put in the oven!
Tip: You can fill the chamber with some AVB (Already Vaped Bud) or ginger. Then heat the device and gently blow CAREFULLY from the other side of the airflow path. This helps remove any manufacturing residues that could cause an unpleasant taste. This technique is highly recommended for new devices, but unfortunately it does not work with all portable vaporizers.
Why Regular Vaporizer Cleaning is So Important
Why is it so important to clean every vaporizer regularly for optimal performance? One reason is that warm vapor condenses when it comes into contact with the cooler parts of the vaporizer, forming sticky, resinous deposits.
As the airways become clogged over time, the performance of the vaporizer gradually decreases. Initially, the vapor quality drops, and eventually, the airflow may be blocked. Lack of cleanliness shortens both the lifespan and functionality of a vaporizer, regardless of build quality.
We should also consider the health aspect: only a clean vaporizer produces clean vapor. Cleaning directly affects vapor quality! Residues reduce performance and, in the worst case, can damage the heating element.
A word about vaporizer warranty conditions:
Only by carefully treating all parts of your vaporizer can you ensure that any defects or malfunctions are covered by the warranty.
How to Clean a Herbal Vaporizer Properly
Residues can be removed relatively easily with isopropyl alcohol. Exercise caution, as this solvent is very strong and not all materials should come into contact with it. It is recommended to wear gloves during cleaning.
If you follow the tips below, cleaning becomes quick and efficient. Your vaporizer will almost look like new afterward.
Cleaning the Vaporizer After Each Use Without Alcohol
Most vaporizers on the market come with a small cleaning brush. If a brush is not included, you will need something small enough to fit into the herb chamber. The brush should have stiff rather than soft bristles so residues can be easily brushed off. We recommend brushing the herb chamber and screens after each use.
Even alcohol wipes can quickly help remove minor residues.
IMPORTANT: Never let brushes or plastic pipe cleaners come into contact with hot parts. Allow the device to cool sufficiently to prevent this!
Cleaning the Mouthpiece and Cooling Chamber
It is especially important to check and clean the screen. It can either be brushed off or cleaned with a needle to remove residue from the holes. Do not use water and do not rinse the vaporizer under running water! This can damage the electrical components.
Pipe cleaners or cotton swabs can be useful instead of a brush for cleaning after each session. Screens are suitable for cleaning with alcohol. Cooling chambers can usually be removed and disassembled into multiple parts. This makes cleaning easier.
Which Vaporizer Parts Can Be Cleaned with Isopropyl Alcohol?
The easiest way to clean vaporizer parts is to soak the individual components in isopropyl alcohol. You can do this whenever you feel the vaporizer needs a proper cleaning (1-2 times per week is usually sufficient).
The rule of thumb is: the longer the parts are soaked, the easier the cleaning. You can soak all glass and metal elements—they can stay in alcohol overnight. In the morning, it is usually enough to rinse the parts under clean water and let them dry thoroughly.
Some plastic elements, such as the cooling chambers of Crafty+ and Mighty, can also be soaked in isopropyl alcohol (make sure to remove the seals first!). However, caution is advised with plastic parts. The term “plastic” is not clearly defined and includes different types of materials.
Some plastics (e.g., high-density polyethylene or polypropylene) can be safely cleaned with alcohol, but others may discolor or dissolve if soaked. Since end users usually do not know exactly which type of plastic was used in the vaporizer, we recommend an alternative method.
Instead of soaking plastic elements, you can wipe them with a cotton pad or Q-tip soaked in alcohol. This ensures the alcohol does not damage the plastic parts of your vaporizer. For cleaning seals and inhalation tubes made of glass and silicone, we recommend Limpuro Bio Cleaner. This cleaner is gentle, yet strong enough to remove most residues.
Procedure for Cleaning a Vaporizer
What You Will Need
- Paper towels: for drying individual parts after cleaning
- Isopropyl alcohol: effectively removes sticky resin & herb residues
- A resealable jar: to store the alcohol for later use
- A Zip-Lock bag: for cleaning vaporizer parts
- Alcohol cleaning wipes: perfect for quick cleaning in between sessions, especially for glass surfaces like the airway of the Firefly 2+
- Pipe cleaners: ideal for reaching corners and angles of parts, e.g., the curved aroma mouthpiece of the Solo 2 MAX or the aroma tube of the Air MAX
- Cotton swabs: perfect for cleaning the herb chamber
- Old toothbrush: for stubborn residues, e.g., cleaning cooling elements of the Mighty
Place all parts that can go into alcohol into a Zip-Lock bag or Tupperware, add some alcohol, close the bag securely, and shake gently (do not shake too hard with glass parts). Shaking helps remove residues. For stubborn dirt, leave the parts to soak overnight. Afterwards, rinse with water and let dry.
You can store the alcohol in a jar after cleaning and reuse it multiple times. When the solution turns dark brown, it should be replaced. The airway can be cleaned with a pipe cleaner soaked in alcohol (Pax Plus, Davinci MIQRO). Cotton swabs soaked in alcohol work well to wipe out chambers. For very stubborn residues, an old toothbrush is helpful, for example when cleaning cooling elements like in the Mighty+. Metal screens can either be wiped or soaked in alcohol.
Materials That Should Not Be Cleaned with Isopropyl Alcohol
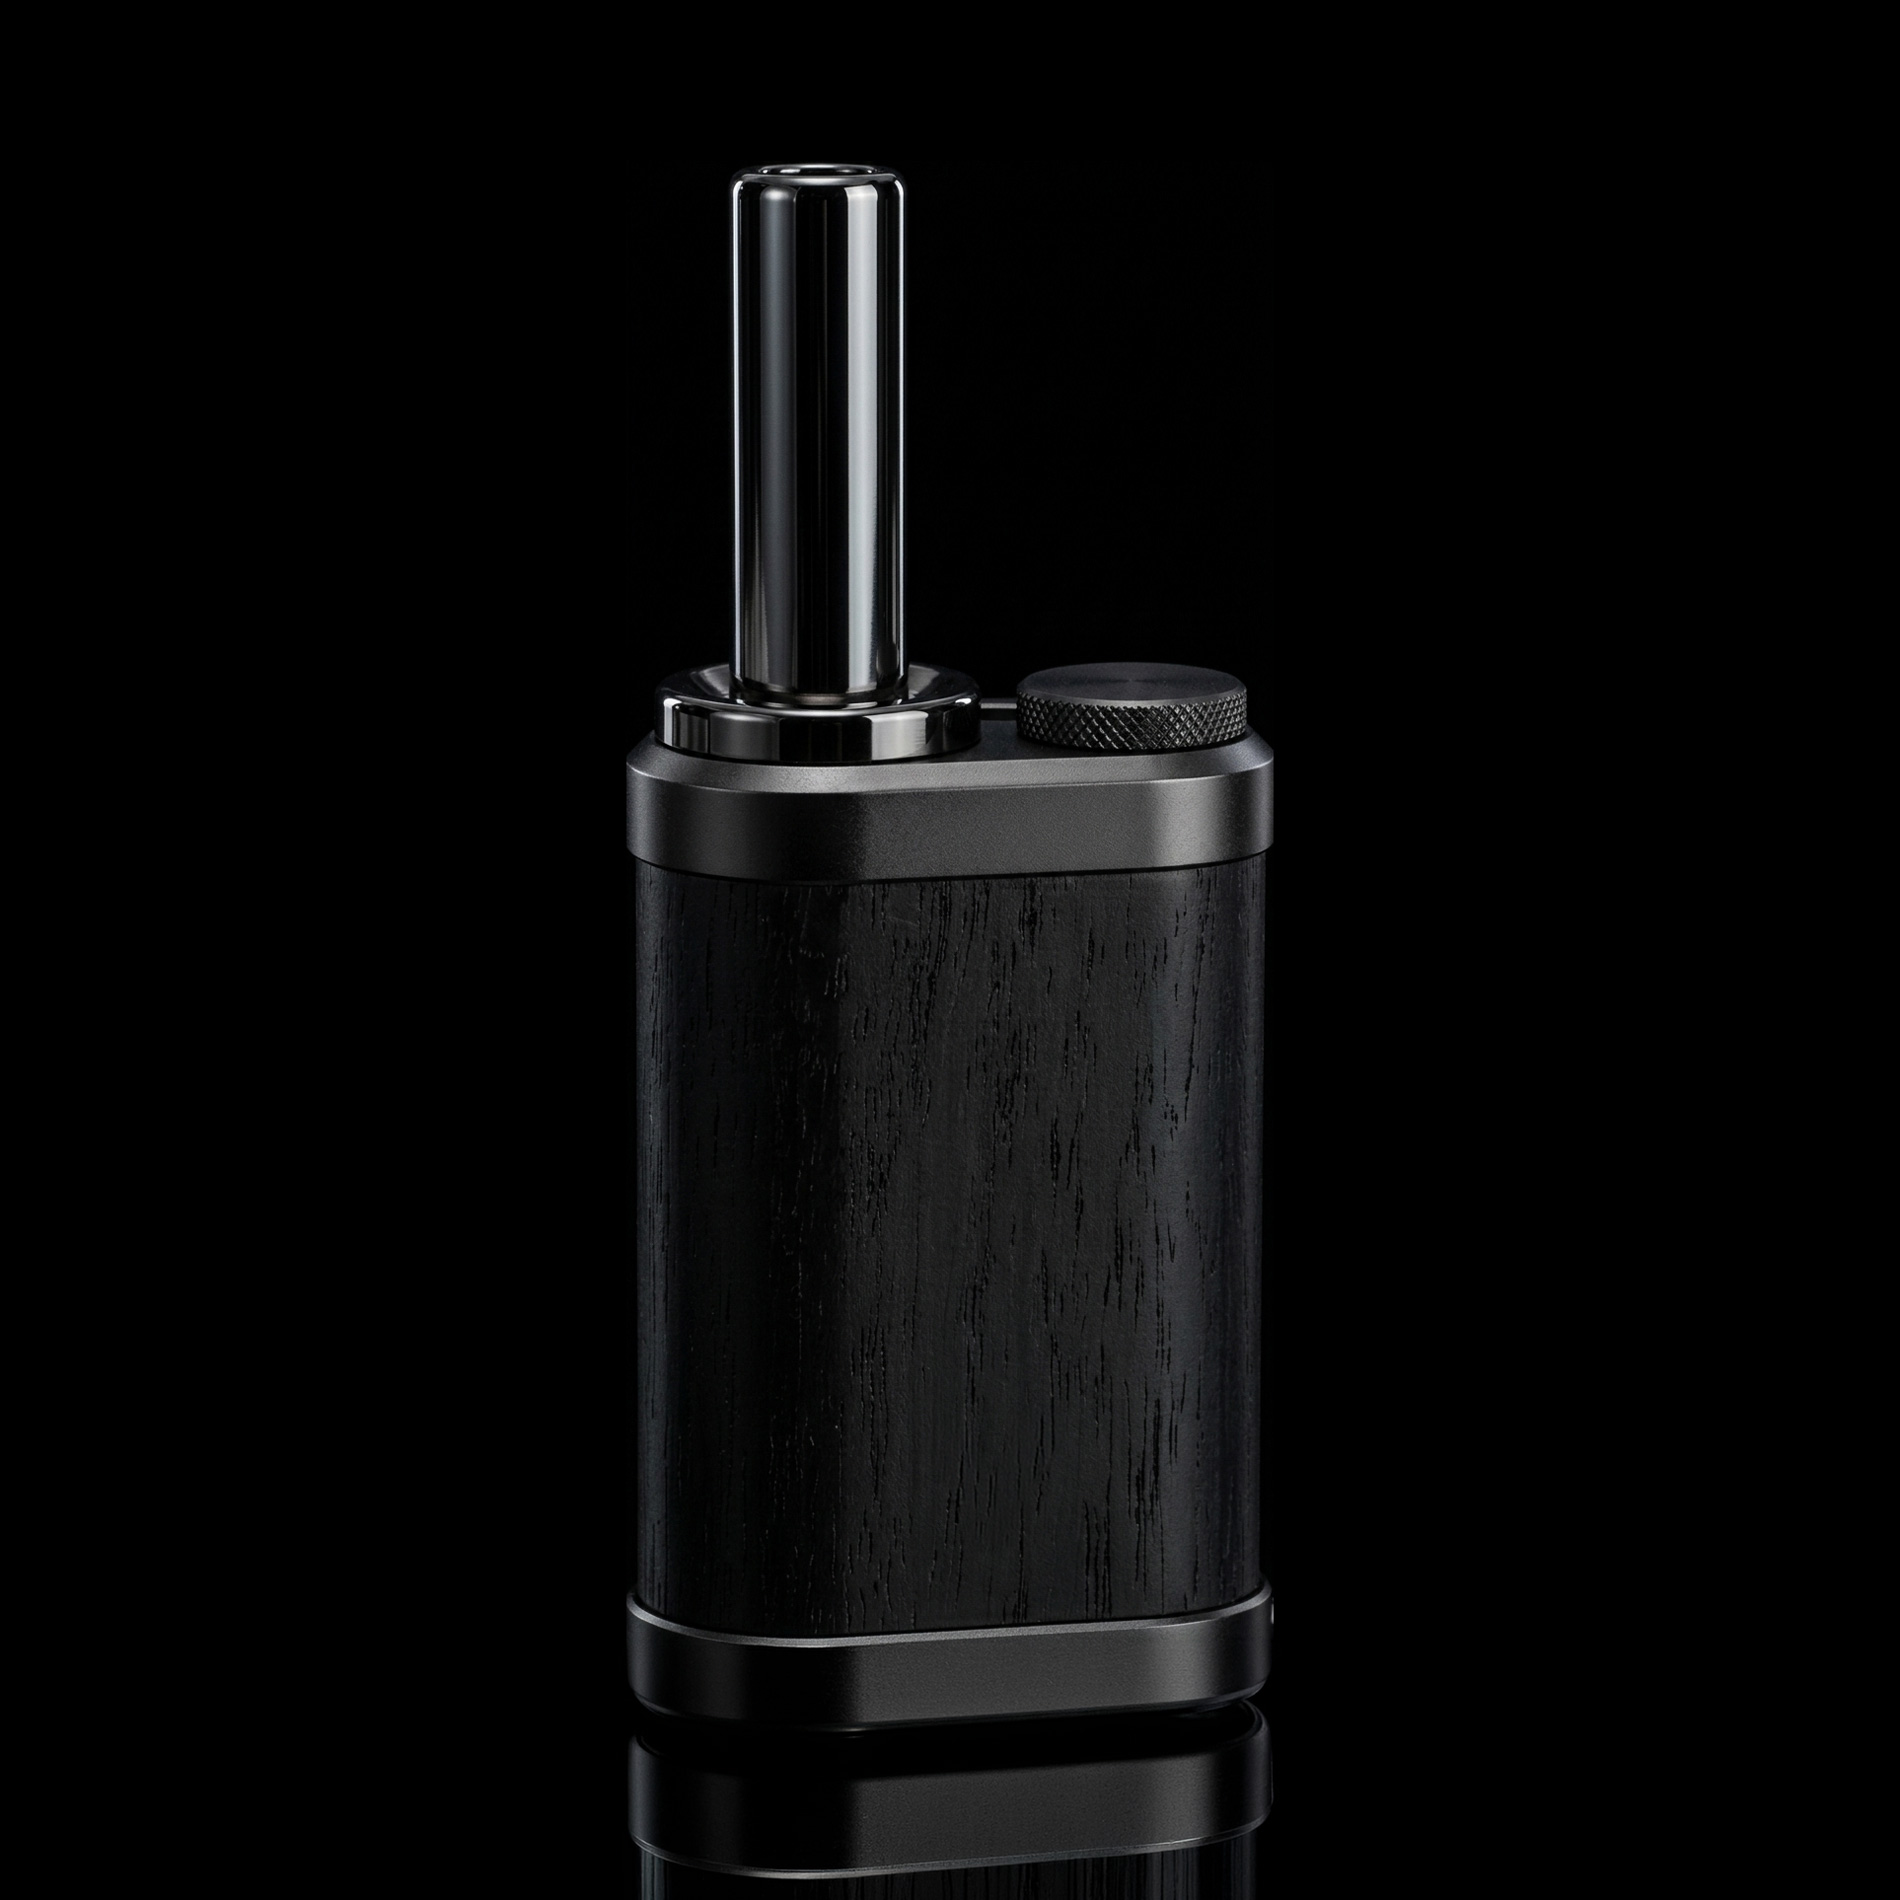
Wood should never be treated with isopropyl alcohol. If wooden parts come into contact with this type of alcohol, they can be permanently damaged or warped. Therefore, never clean wooden elements with alcohol. Instead, you can use a cotton ball and warm water. It can also be useful to regularly treat the wood with wood wax to maintain its quality.
Light plastic and O-rings should also not be soaked in alcohol. However, it is fine to briefly wipe these parts with alcohol and then rinse with clean water.
How Do I Clean an Oil or Wax Vaporizer?
Most oil vaporizers use a coil in the chamber to vaporize concentrates. Since this part is particularly sensitive, it should not be touched with sharp or pointed objects to avoid damage.
It is generally recommended to clean the vaporizer while it is still warm, as residues are easier to remove.
Exercise caution here!
Use a cotton swab or the supplied cleaning tool (if available) to remove small particles from the chamber. Alcohol can be used to wipe the outer part of the chamber or cartridge. Most mouthpieces can be soaked in alcohol as described above. Rinse with clean water and allow to dry completely.
6 Simple Steps to Clean an Oil Vaporizer
- Separate the chamber and mouthpiece.
- Use a Q-tip with alcohol to remove residues from the chamber. Be careful not to damage the coil if your vaporizer has one.
- Repeat the process until the chamber is free of residues.
- Alternatively, the chamber can be turned upside down and warmed on a heating plate to allow the oil to drain. It is recommended to place aluminum foil or parchment paper between the chamber and the heating plate.
- Reassemble the device.
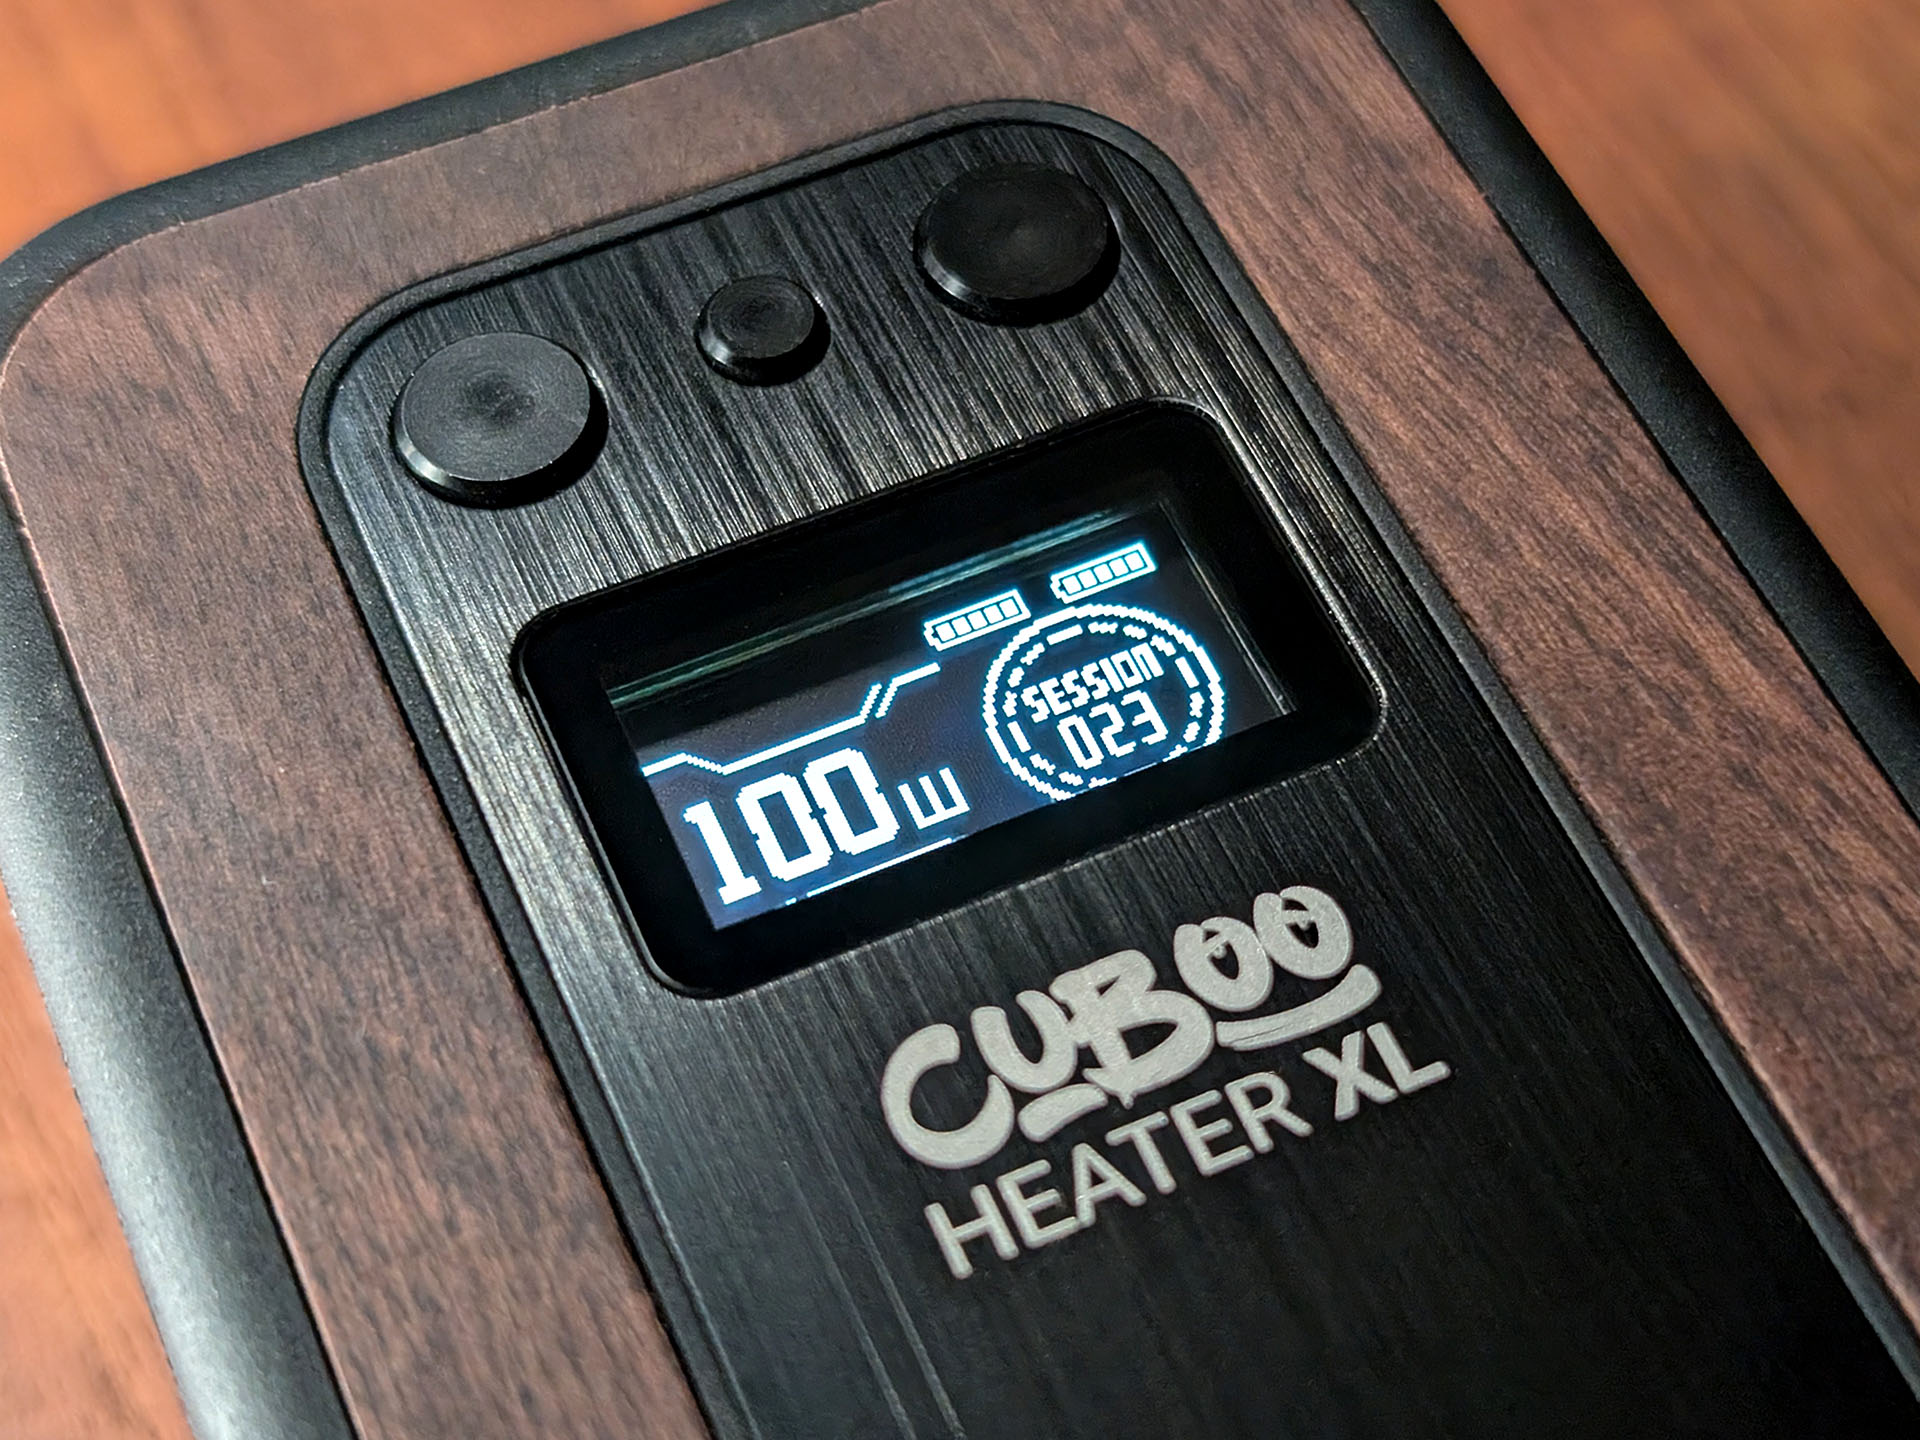
- Your cleaned vaporizer is now ready to work at 100% efficiency again.
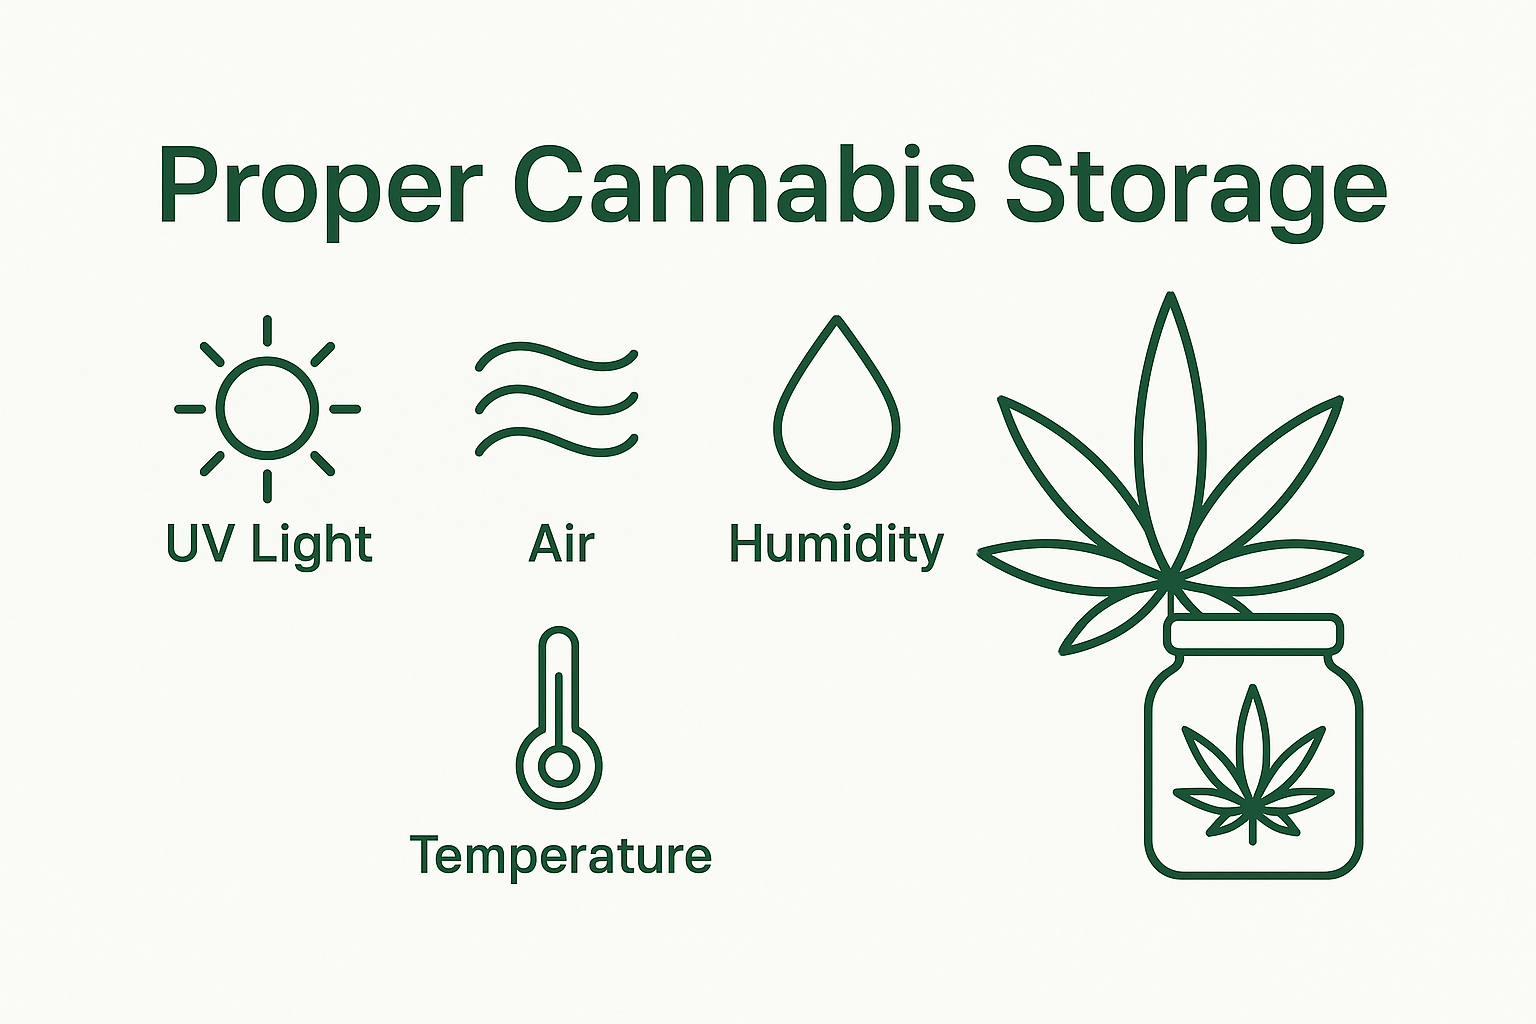
TIP: If you use a vaporizer with a transparent tank, make sure to protect the cartridge or the entire device from direct sunlight. This helps keep the material fresh and maintain its potency.
Cleaning and Maintenance Save Real Money
If cleaning your vaporizer still doesn’t seem important, think about how much money you could save. By doubling the lifespan of parts like screens, mouthpieces, etc., through just cleaning them once before disposal, you could save up to 50%. Over the course of two years—the typical lifespan of a high-end vaporizer—that really adds up.
Using Your Vaporizer After Cleaning
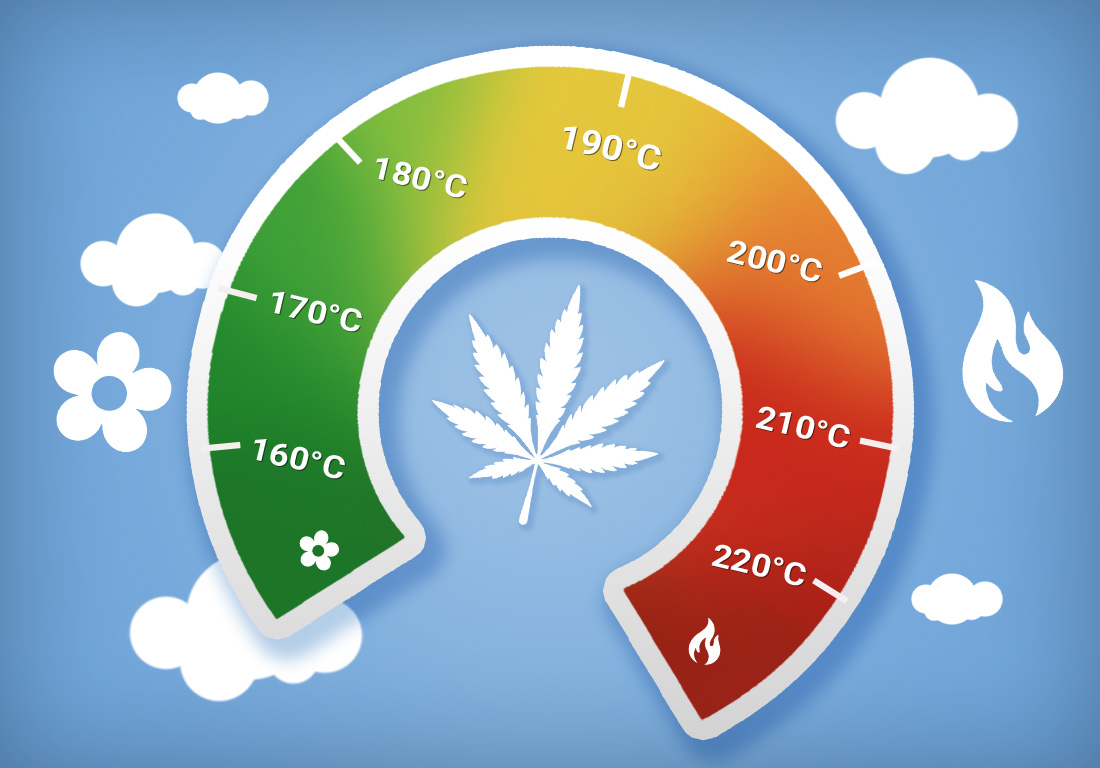
Regardless of which parts were cleaned with alcohol or water, the vaporizer should always be “purged” after cleaning. To do this, turn on the device with an empty chamber, set the temperature to a low value (at least 100°C / 212°F), and let it run for a few minutes. This way, any remaining isopropyl alcohol or water is removed (repeat if necessary). It is much safer to purge them than to inhale residues during the first session after cleaning.
Although isopropyl alcohol is the most effective and inexpensive solution for cleaning vaporizers, you should always check which materials it can be safely used on. You can always ask us about the cleaning process and the materials of your vaporizer.
After changing strains, we also recommend a thorough cleaning of all components to guarantee a pure taste.
Make cleaning even easier: Our shop has everything you need for perfect vaporizer care – check it out now.
Good luck 🙂